
Create Your First Project
Projects are the backbone of your workflow in Clariop. This guide covers how to create a project, add key details like deadlines and descriptions, assign team members, and structure your work so nothing falls through the cracks.
Step 1: Navigate to Projects
Click "Projects" in the left sidebar to open the Projects overview page. If this is your first project, you will see an empty state with a prominent "New Project" button at the center of the screen.
Step 2: Open the New Project Form
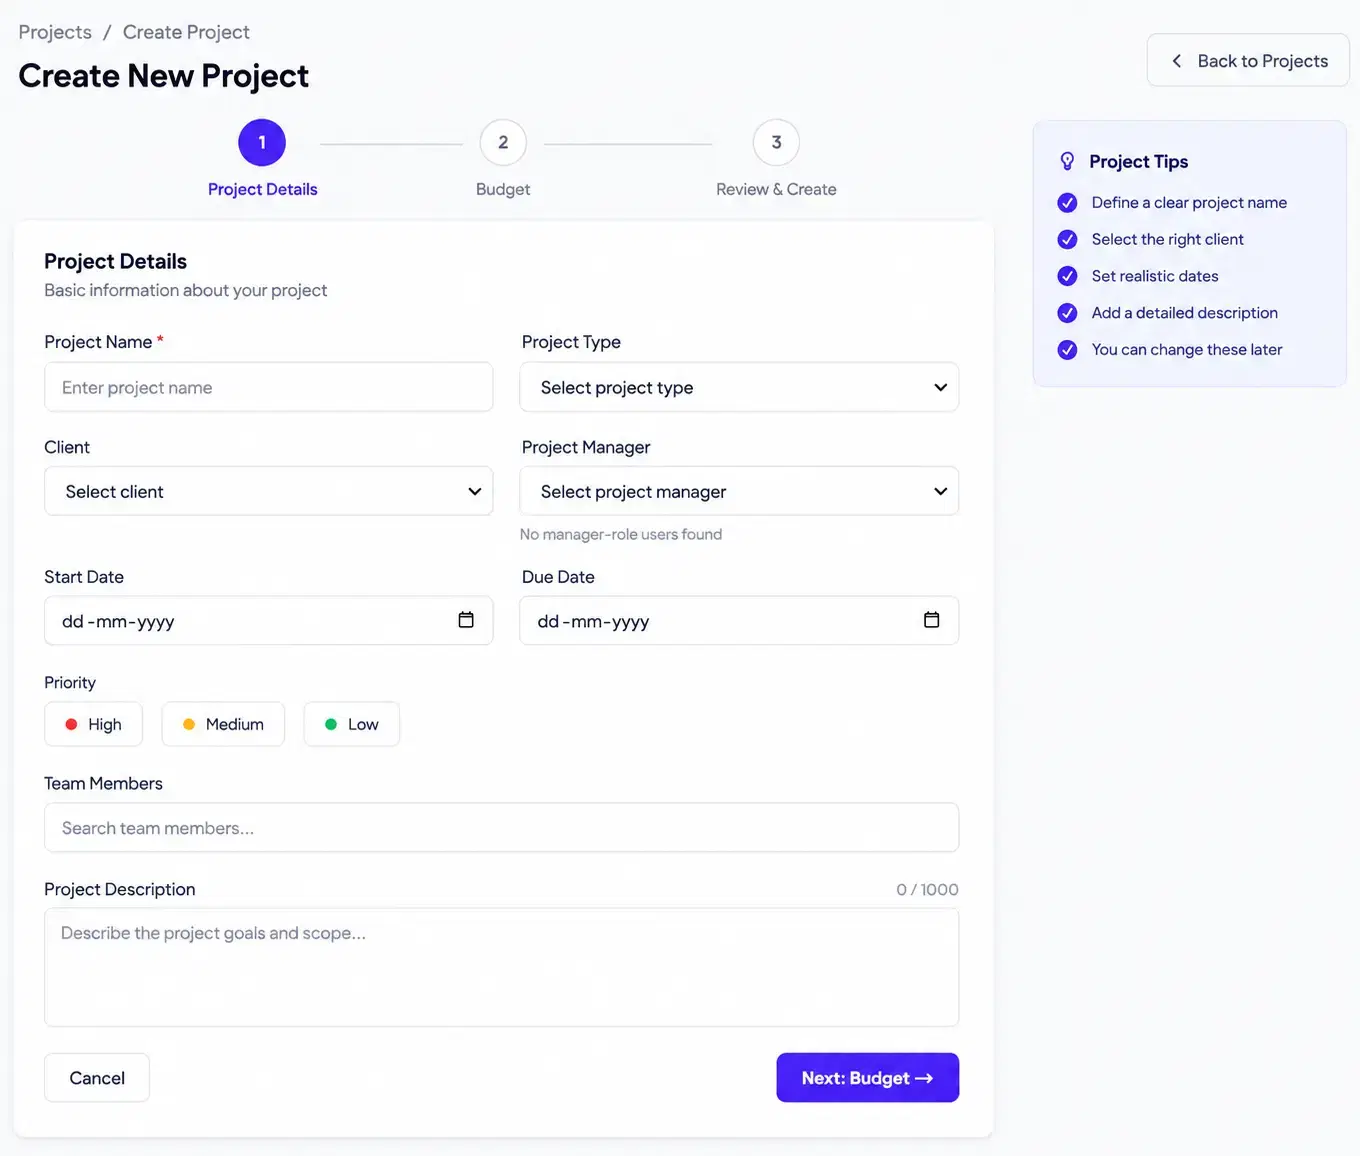
Click "New Project" from the toolbar or the empty state prompt. A creation panel opens on the right side of the screen with fields for the project name, description, start date, deadline, and associated client.
Step 3: Fill In Project Details
Enter a clear project name and an optional description. Setting a start date and deadline is strongly recommended — these values drive the timeline view and are used in Reports to calculate project health and days remaining.
Step 4: Assign Team Members
Use the Members field to search for and select teammates from your workspace. Each member can be given a project-level role that overrides their workspace role for tasks and visibility within this specific project.
Step 5: Explore the Project Dashboard
After saving, you will land on the project dashboard. The left panel shows task progress and status breakdowns; the right panel displays recent team activity. Bookmark this page for a fast daily status check.