
User Roles & Permissions
A secure team is a structured team. This guide breaks down the available user roles in Clariop, explains what each role can access, and shows you how to assign and adjust permissions to keep your workspace organized and your data protected.
Step 1: Understand the Role System
Clariop uses three workspace-level roles: Admin, Member, and Viewer. Each role defines what a user can see and do across the entire workspace, while project-level roles can further restrict or expand access within individual projects.
Step 2: The Admin Role
Admins have unrestricted access to workspace settings, billing, team management, and all projects. Assign this role only to team leads or account owners who actively need to manage other users and configure workspace-wide settings.
Step 3: The Member Role
Members can create and manage projects and tasks, leave comments, and view all workspace content they have been granted access to. This is the appropriate default role for most active team members — it balances broad access with appropriate guardrails.
Step 4: The Viewer Role
Viewers can read all content they have been given access to, but cannot create, edit, or delete anything. This role is ideal for stakeholders, contractors, or clients who need visibility into progress without the ability to alter data.
Step 5: Assign and Change Roles
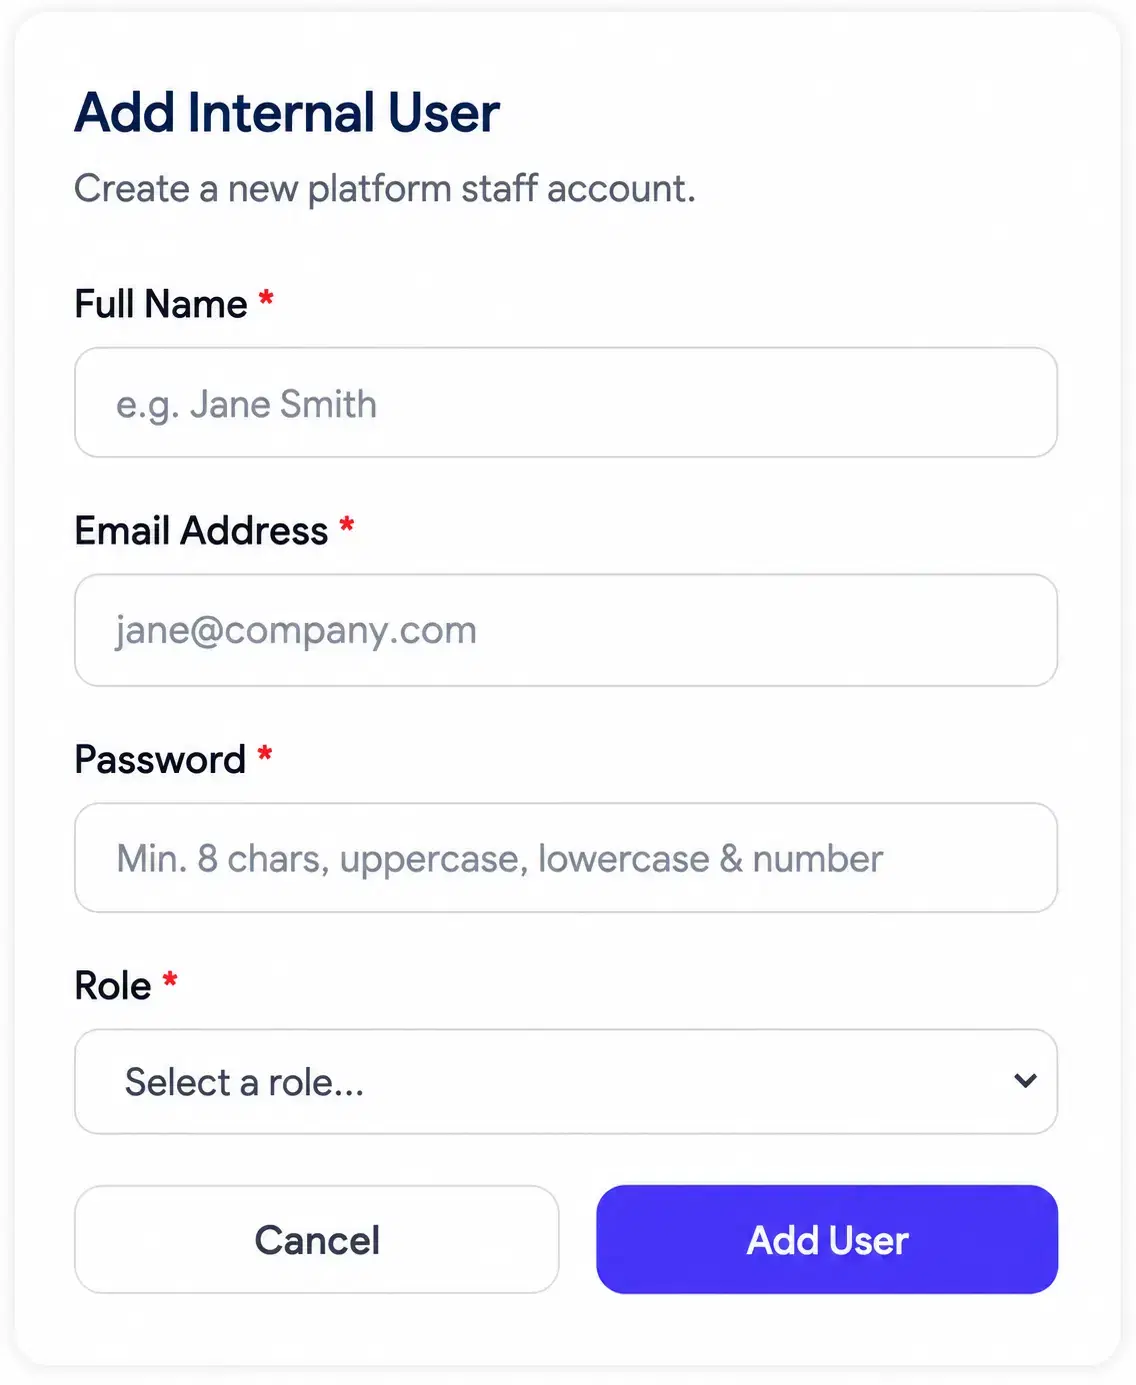
To change a member role, go to Team Settings, find the user, and select a new role from the dropdown next to their name. Role changes take effect immediately — the affected user does not need to log out or refresh their session.