
Invite Team Members
Collaboration starts with getting the right people into your workspace. Learn how to send invitations, assign roles, and control what each member can see and do — ensuring everyone has the access they need without compromising security.
Step 1: Open Team Settings
Click your workspace name in the top-left corner, then choose "Team Settings" from the dropdown. The Team Settings panel shows all active members, pending invitations, and available role assignments.
Step 2: Send an Invitation
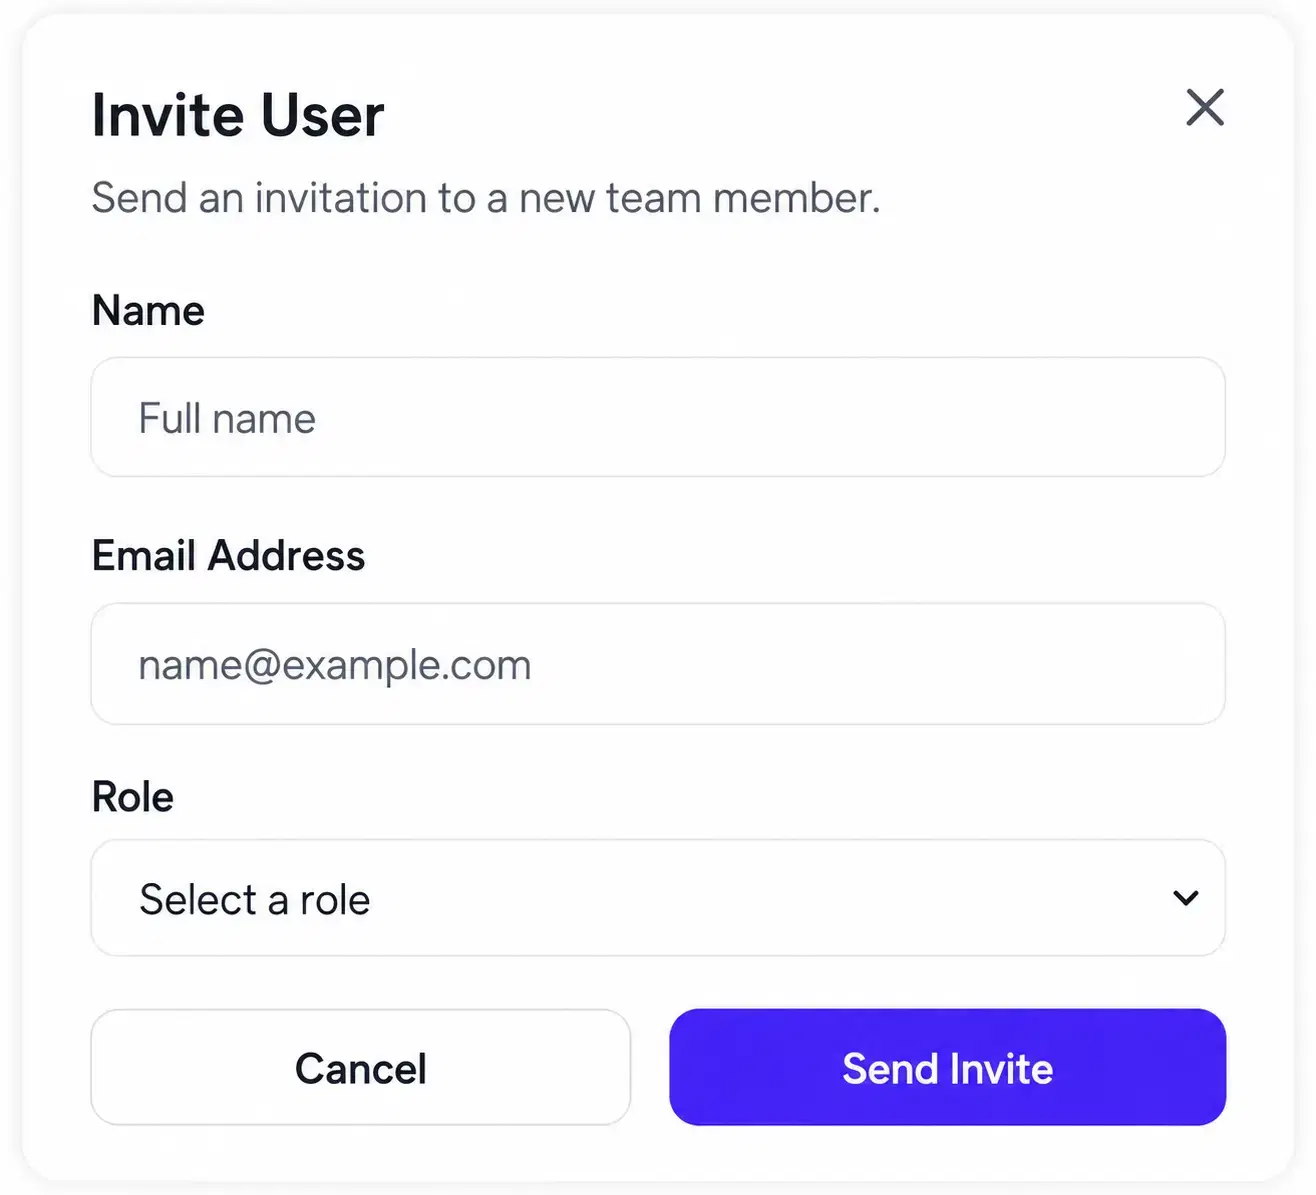
Click "Invite Members" and enter one or more email addresses — you can add multiple recipients separated by commas. Clariop sends each address a secure invitation link that remains valid for 48 hours.
Step 3: Assign a Role
Before sending, select a default role for the invitees: Admin, Member, or Viewer. This role can be changed at any time after they join — choosing a role at invitation time simply sets a sensible starting point.
Step 4: Track Pending Invitations
Switch to the "Pending" tab to see invitations that have not been accepted yet. From this view you can resend an expired invitation or revoke one that is no longer needed — both actions take effect immediately.
Step 5: Review the Active Member List
Once an invitation is accepted, the new member appears in the "Active" tab. Use the role filter to audit who holds Admin access and adjust permissions as your team grows.