
Create Your First Workspace
Setting up your workspace is the first step to getting organized with Clariop. This guide walks you through naming your workspace, configuring your preferences, and preparing your environment so your team can hit the ground running from day one.
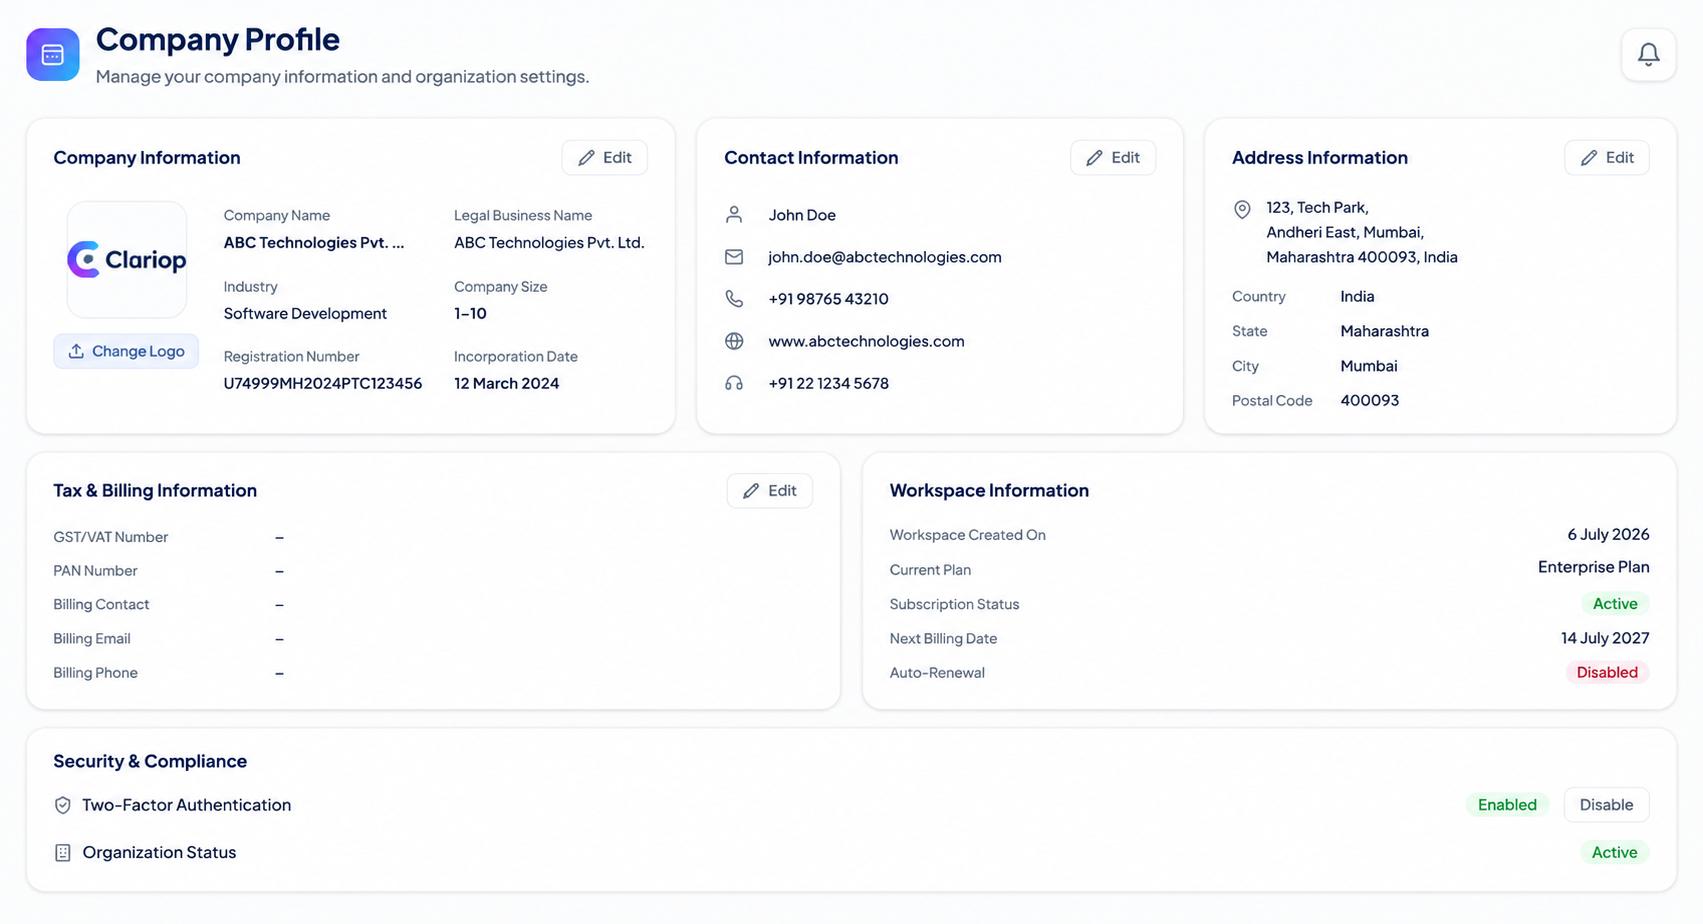
Step 1: Sign In and Access the Dashboard
After creating your Clariop account, you will land on the main dashboard automatically. If you already have an account, sign in and select your workspace from the picker in the top-left corner of the screen.
Step 2: Create a New Workspace
Click the workspace name in the top-left corner to open the workspace switcher, then select "Create New Workspace." Enter a name that reflects your organization, team, or project — this name appears in navigation, invitation emails, and exported reports.
Step 3: Configure Workspace Settings
After creation, you will be taken to Workspace Settings automatically. Set your preferred timezone and date format so that due dates and activity timestamps display consistently for your entire team.
Step 4: Explore the Dashboard Layout
Take a few minutes to navigate the sidebar: Projects, Tasks, Clients, Reports, and Team are the five core sections. You can collapse the sidebar at any time using the arrow icon at the bottom to maximize your working area.
Step 5: Invite Your First Team Member
Your workspace is ready for collaborators. Head to Team Settings using the sidebar or the quick-access link in the onboarding banner, and send your first invitation — the next guide walks you through that process in detail.